
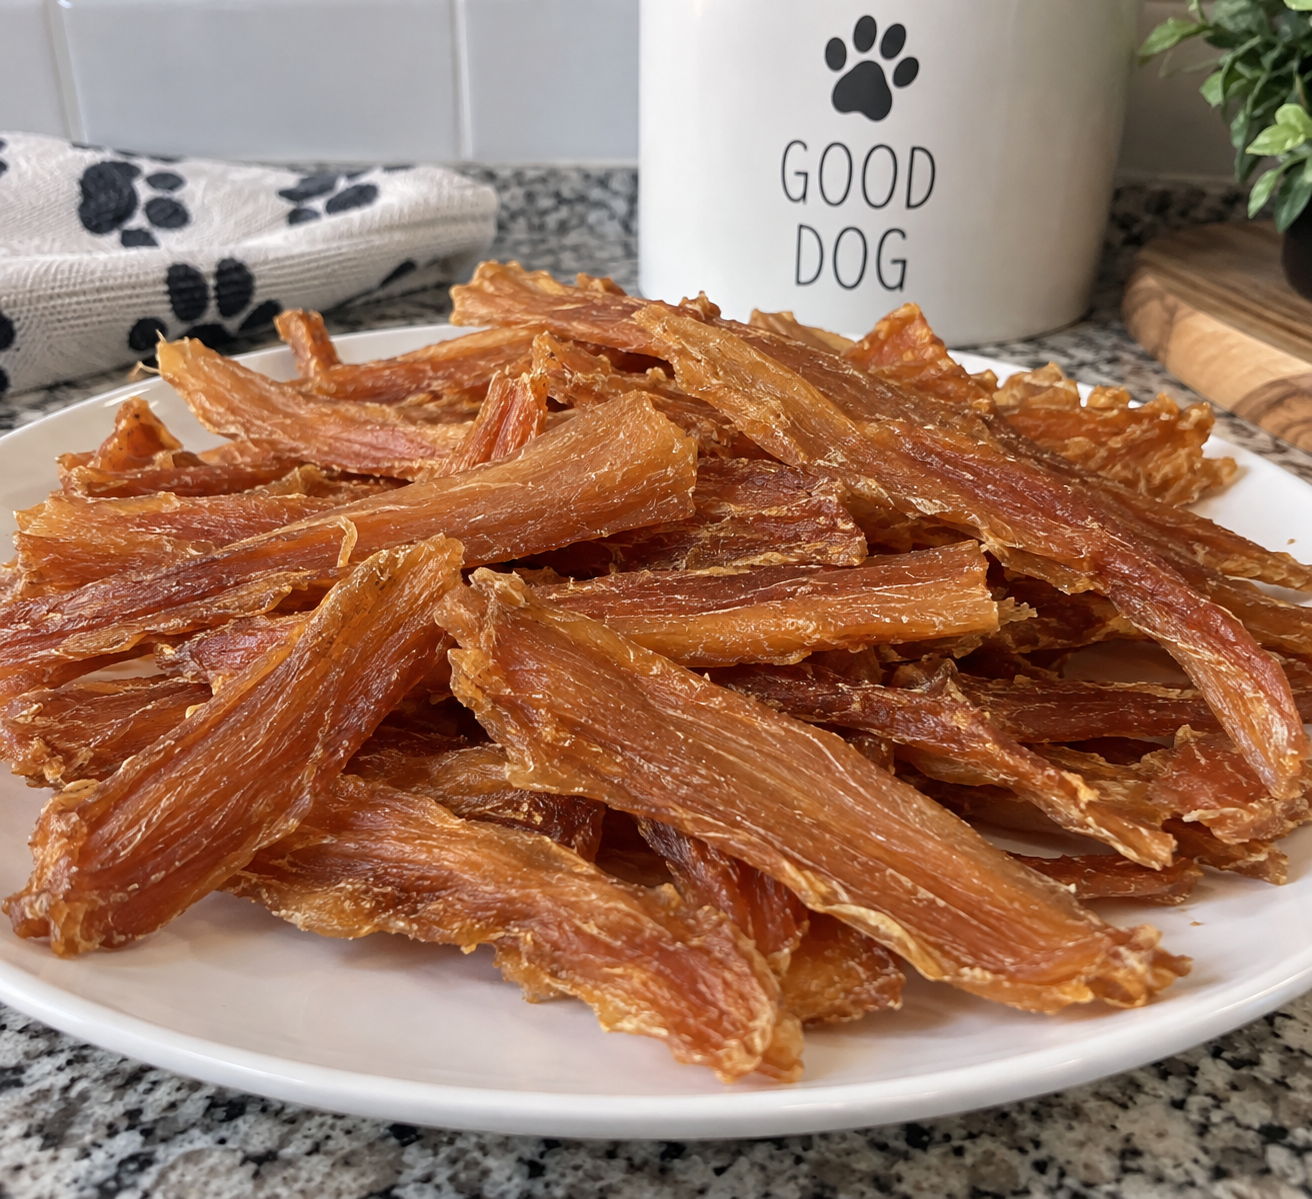
One-ingredient chicken jerky for dogs turns plain chicken breast into small, easy-to-portion treats. Thin, evenly cut strips dry more consistently than thick pieces, and a small batch can be divided between the refrigerator and freezer.
The important distinction is between cooking and drying. Heat the chicken to a measured internal temperature of 165°F (74°C) before dehydration. A dehydrator set to that temperature does not prove the meat itself reached it before drying.
Ingredient
- 2 lb boneless, skinless chicken breasts, approximately 900 g
Choose plain chicken without added seasoning or marinade. No salt, oil, garlic, onion or sauces are needed. The finished weight and number of treats depend on moisture loss and how small you cut the strips; no fixed yield or calorie value has been established.
Equipment
Have a sharp knife, clean chopping board, food thermometer with a thin probe, a steamer or saucepan for the initial cooking step, and a dehydrator suitable for meat. Prepare clean trays and airtight refrigerator or freezer containers before starting.
How to make chicken jerky for dogs
1. Firm the chicken for slicing
Place the chicken in the freezer for about one hour, just until firm enough to cut neatly. This is a slicing aid, not a step that makes raw chicken safe. Trim visible fat and keep any chicken you are not working with refrigerated.
2. Cut thin, even strips
Slice lengthwise into strips approximately ⅛–¼ inch thick, about 3–6 mm. Aim for consistent thickness throughout each strip. Very thick ends take longer to dry, while thin tips can become brittle.
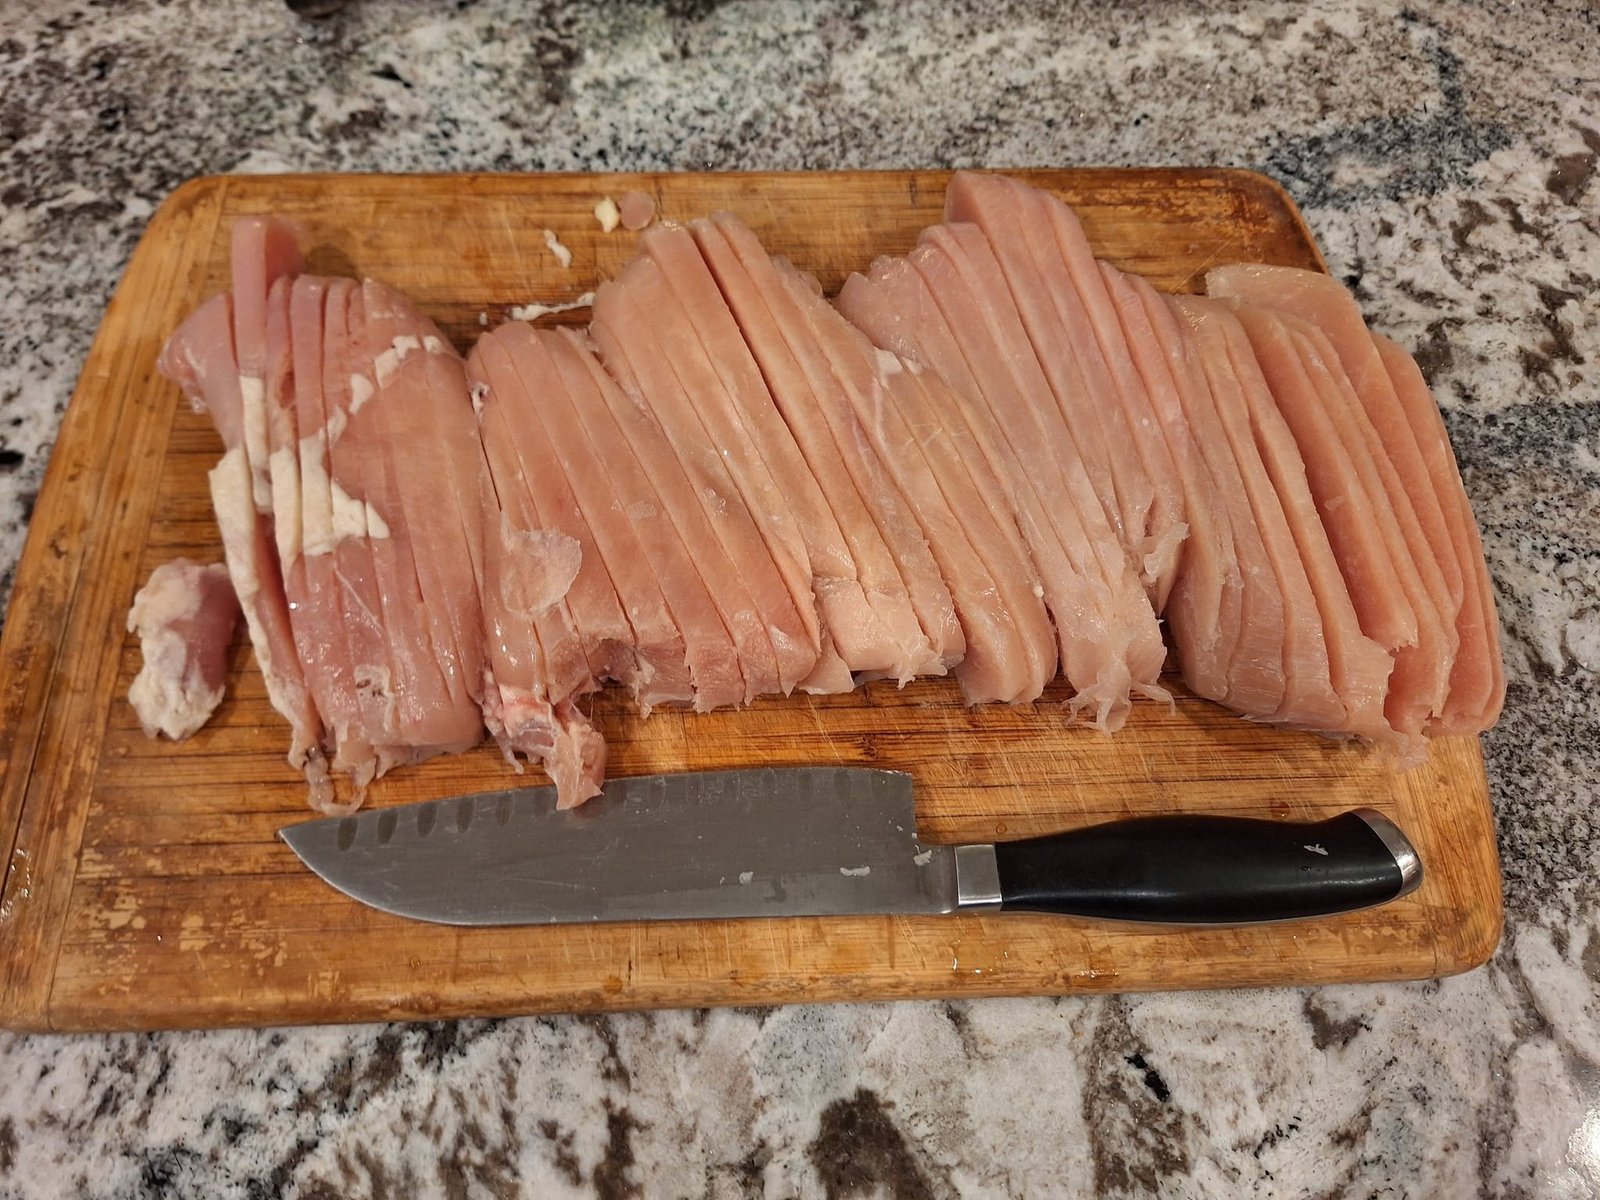
Wash hands and clean the board, knife and work surfaces after handling raw chicken. Keep cooked pieces and clean utensils separate from anything that touched the raw meat.
3. Cook before drying
Steam the strips or poach them in plain water until they reach 165°F (74°C) internally. Check the thickest pieces with a thin-probe food thermometer, inserting it from the side where possible. Work in batches if necessary so the strips heat evenly. Drain and transfer with clean utensils directly to the prepared dehydrator.
This heating step is an addition to the original drying-only instructions. Do not use colour, firmness or the dehydrator display as a substitute for measuring the chicken’s temperature.
4. Arrange with room for airflow
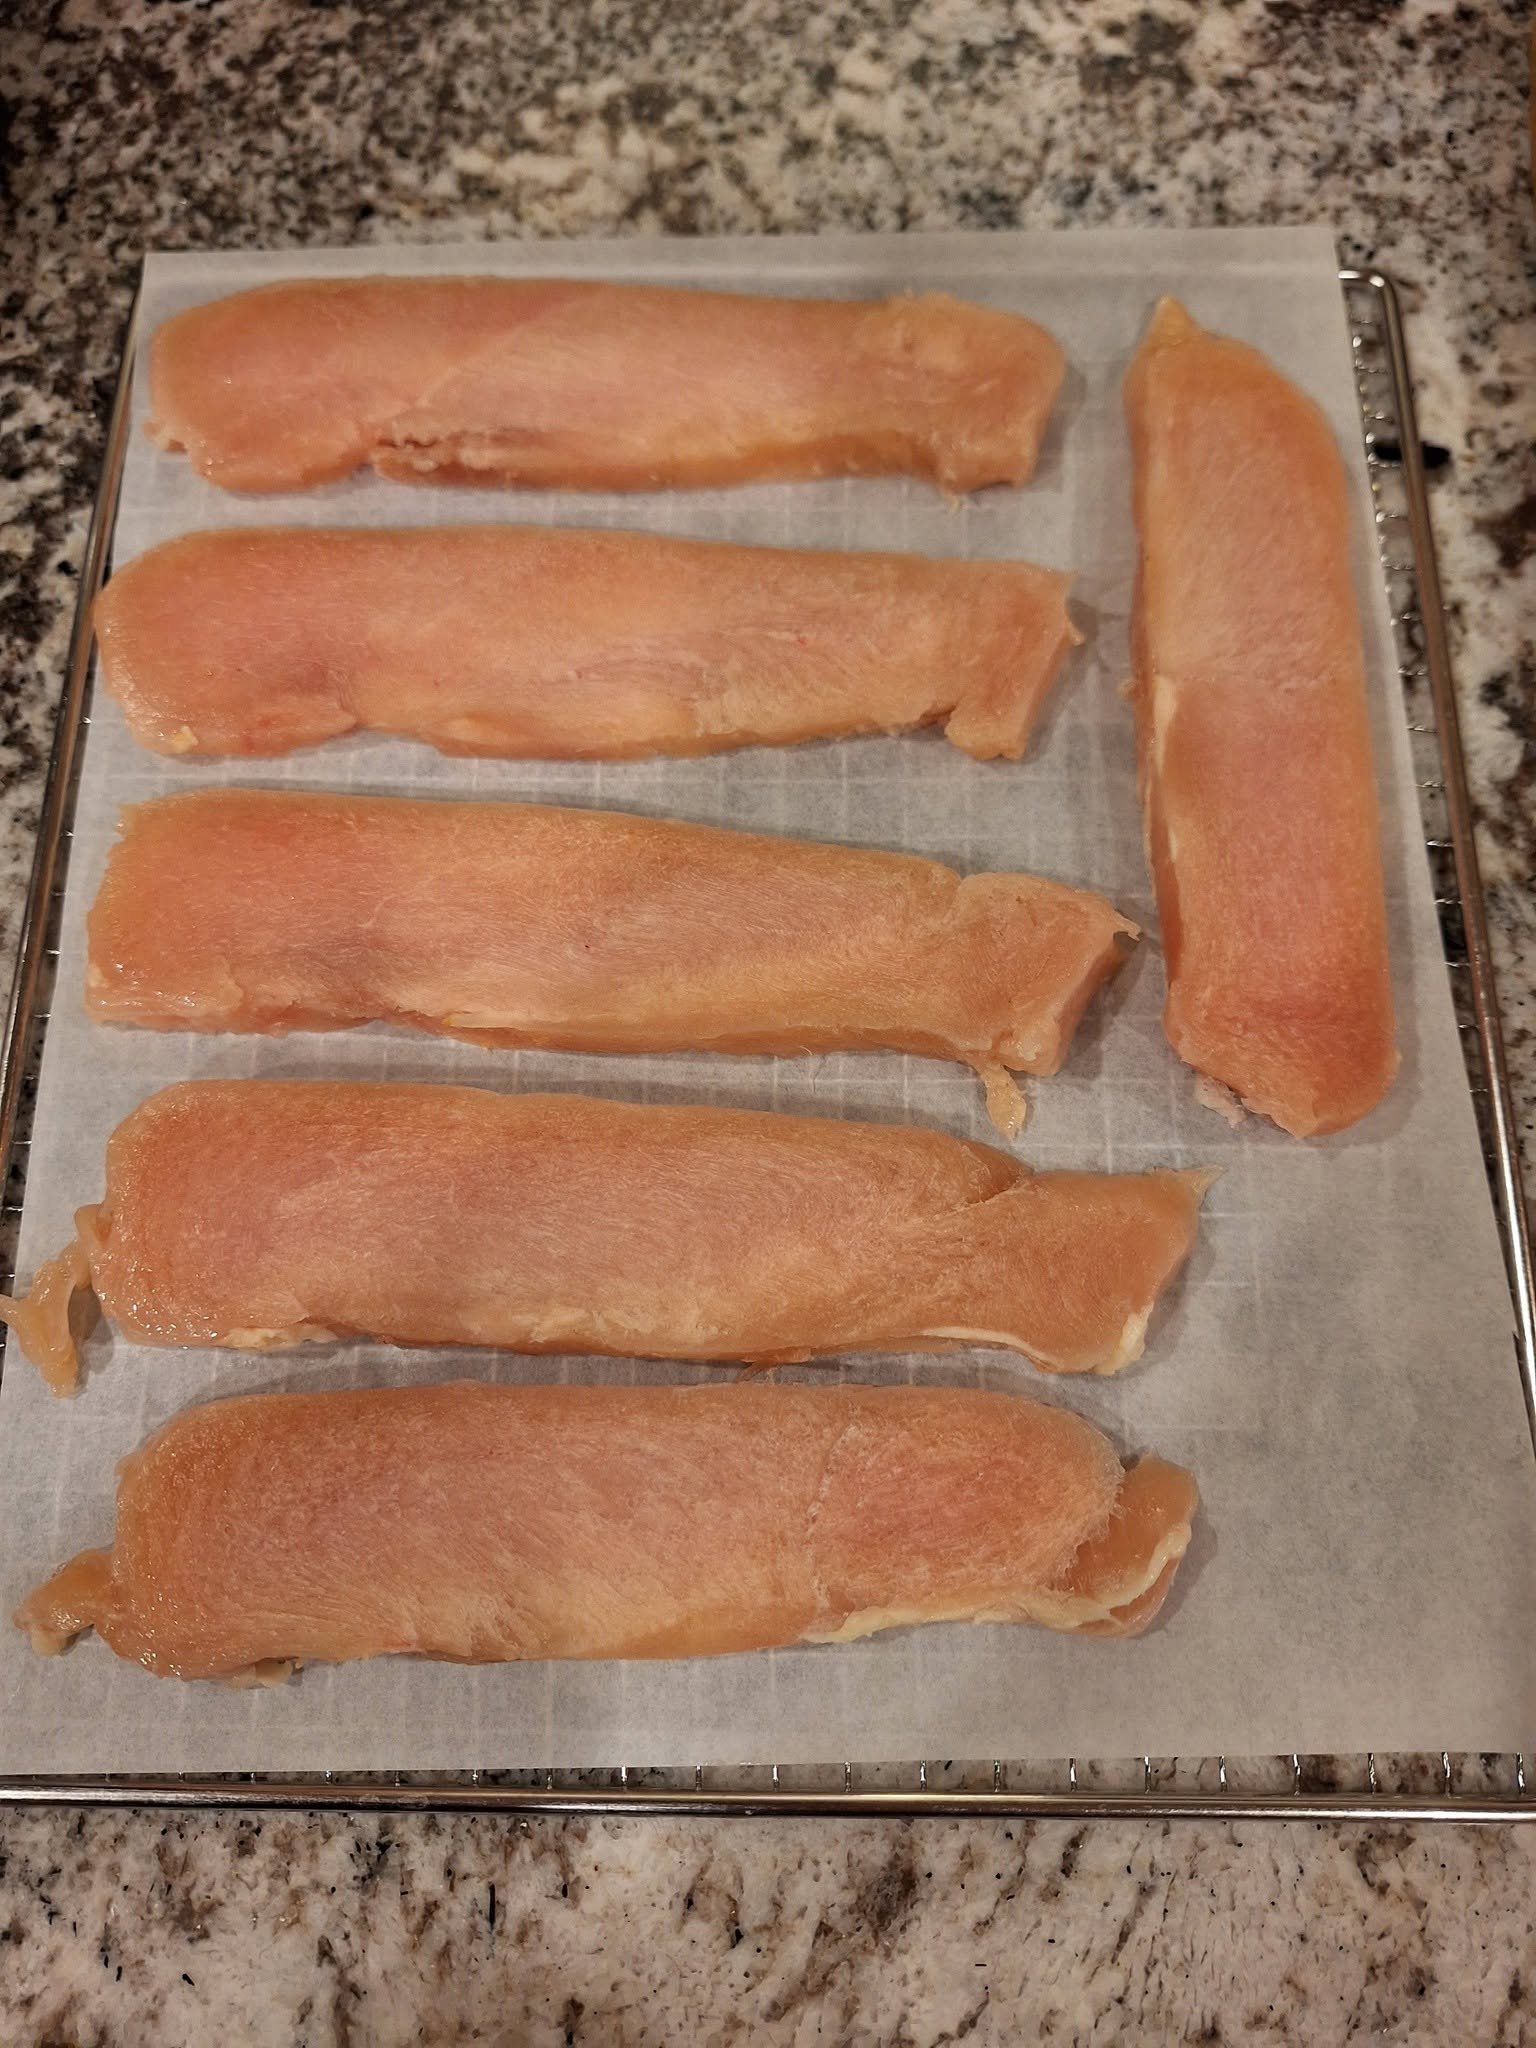
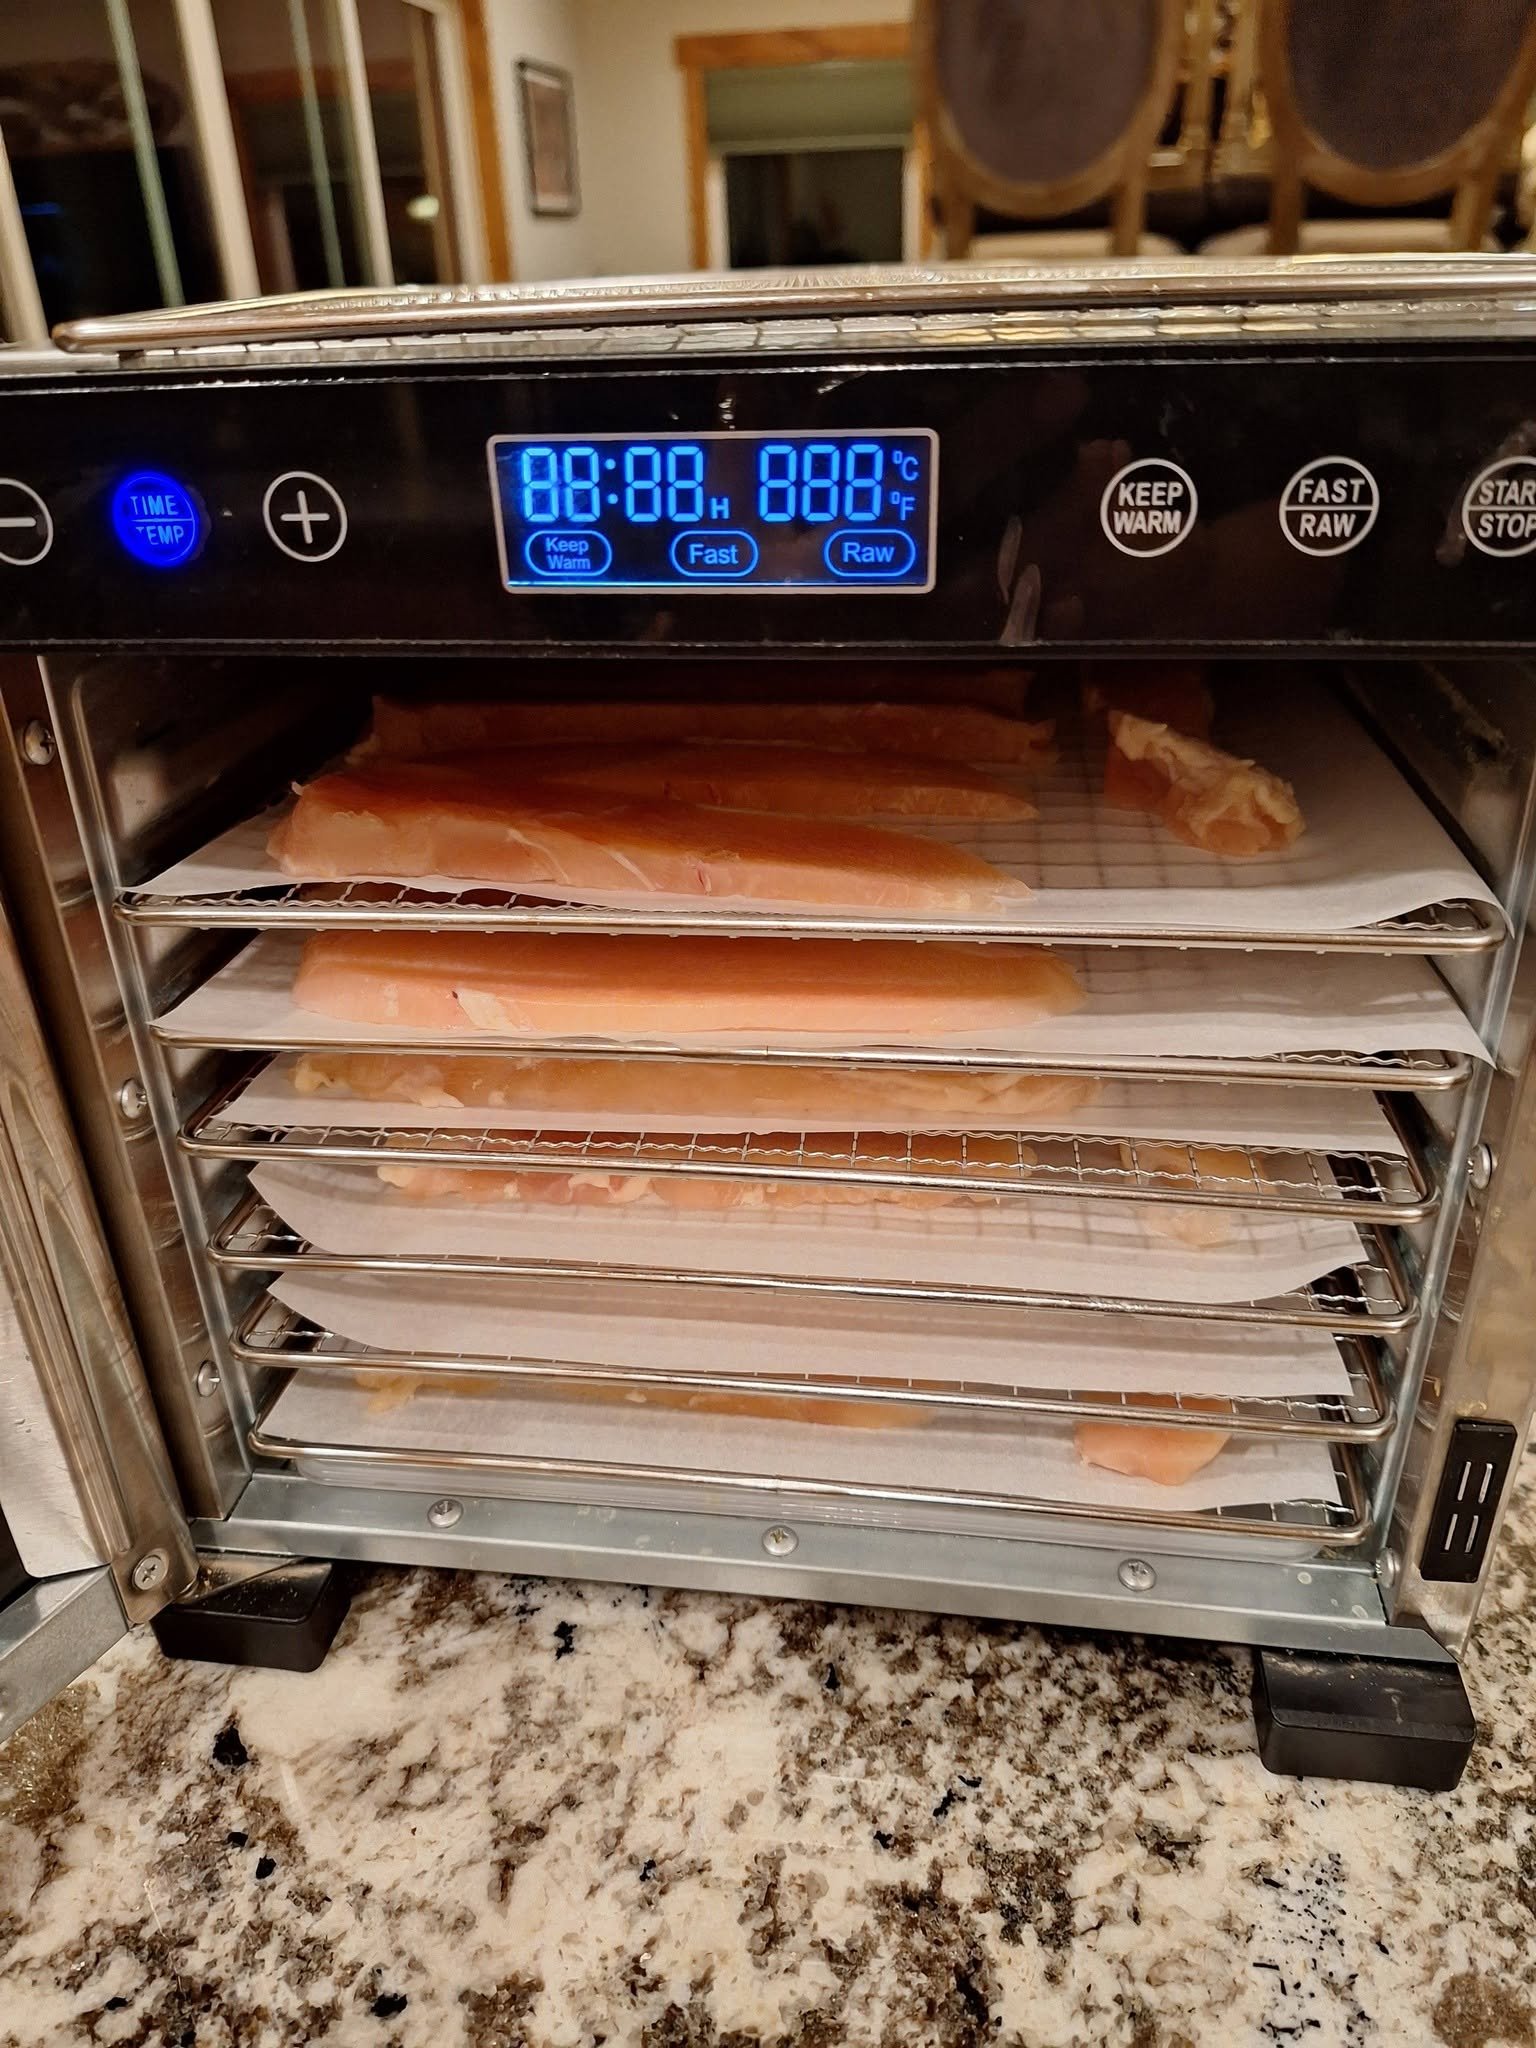
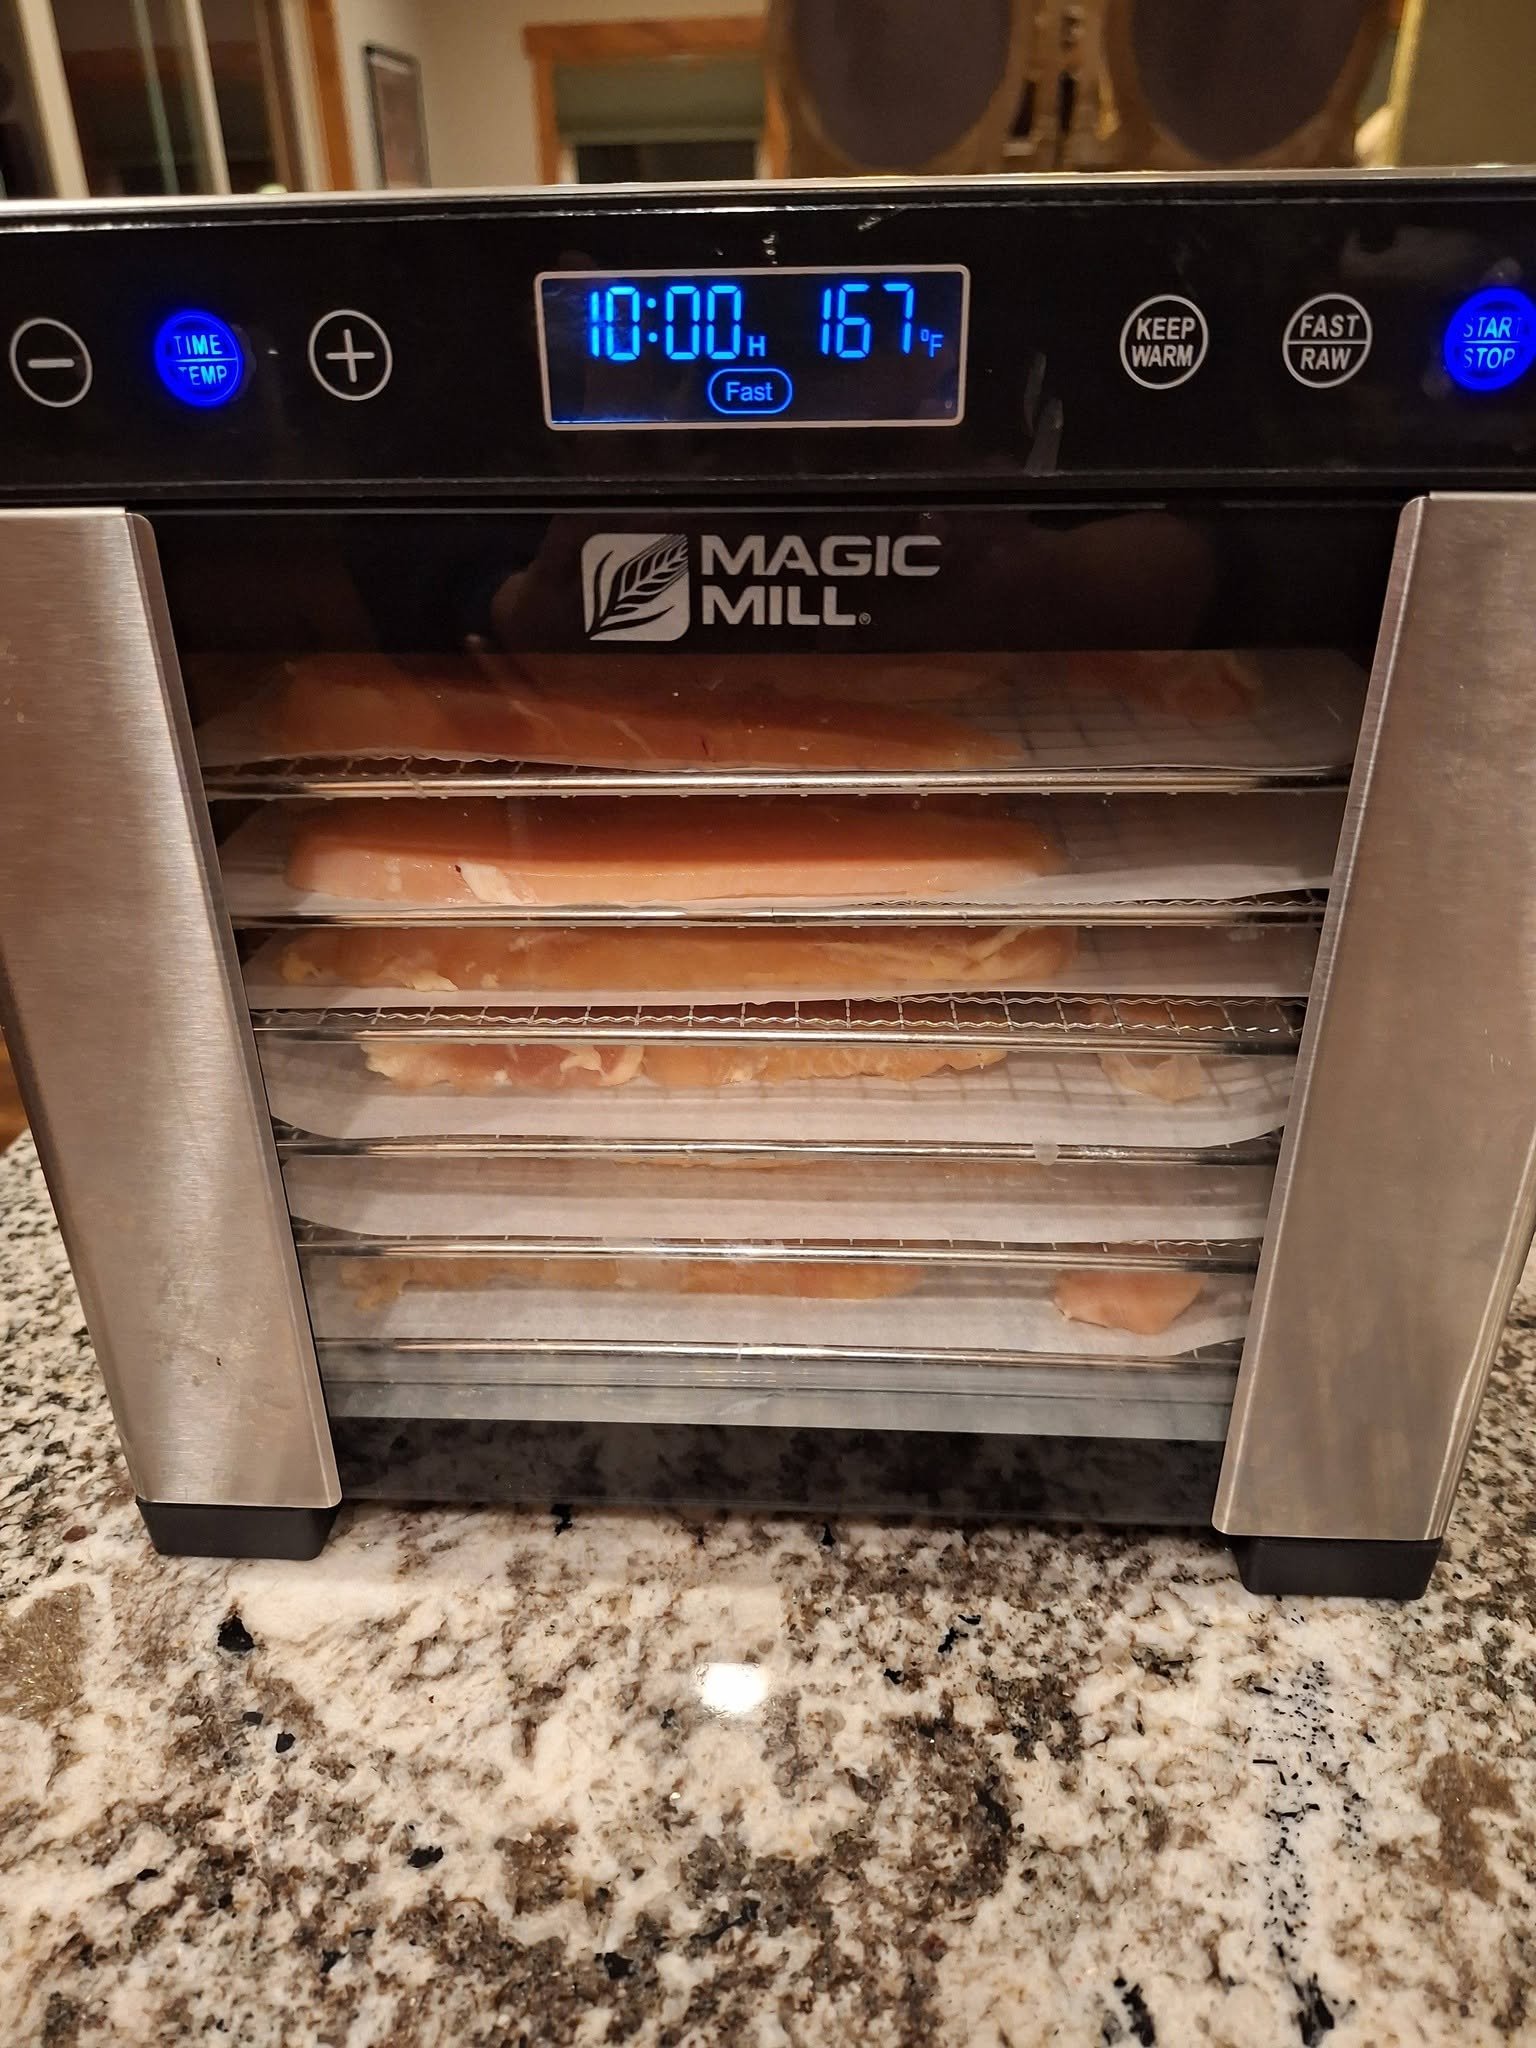
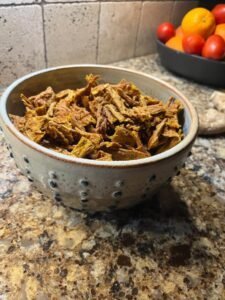
Spread the cooked strips in one layer without overlap. Leave gaps so air can circulate. The original photographs show raw strips on lined racks; for this method, use cooked strips and only liners approved by your appliance manufacturer. Avoid covering vents or blocking airflow with full sheets of paper.
5. Dehydrate until evenly dry
The supplied recipe uses a dehydrator setting of 165°F (74°C) and an approximate six-to-ten-hour drying range. After the separate cooking step, follow your appliance’s directions for drying cooked poultry. The original range is a guide rather than a tested finish time for this revised method.
Begin checking before the end of the range. Thickness, tray load and airflow affect drying speed. Rotate trays if the manufacturer recommends it, and remove pieces as they finish rather than waiting for every strip to dry at the same rate.
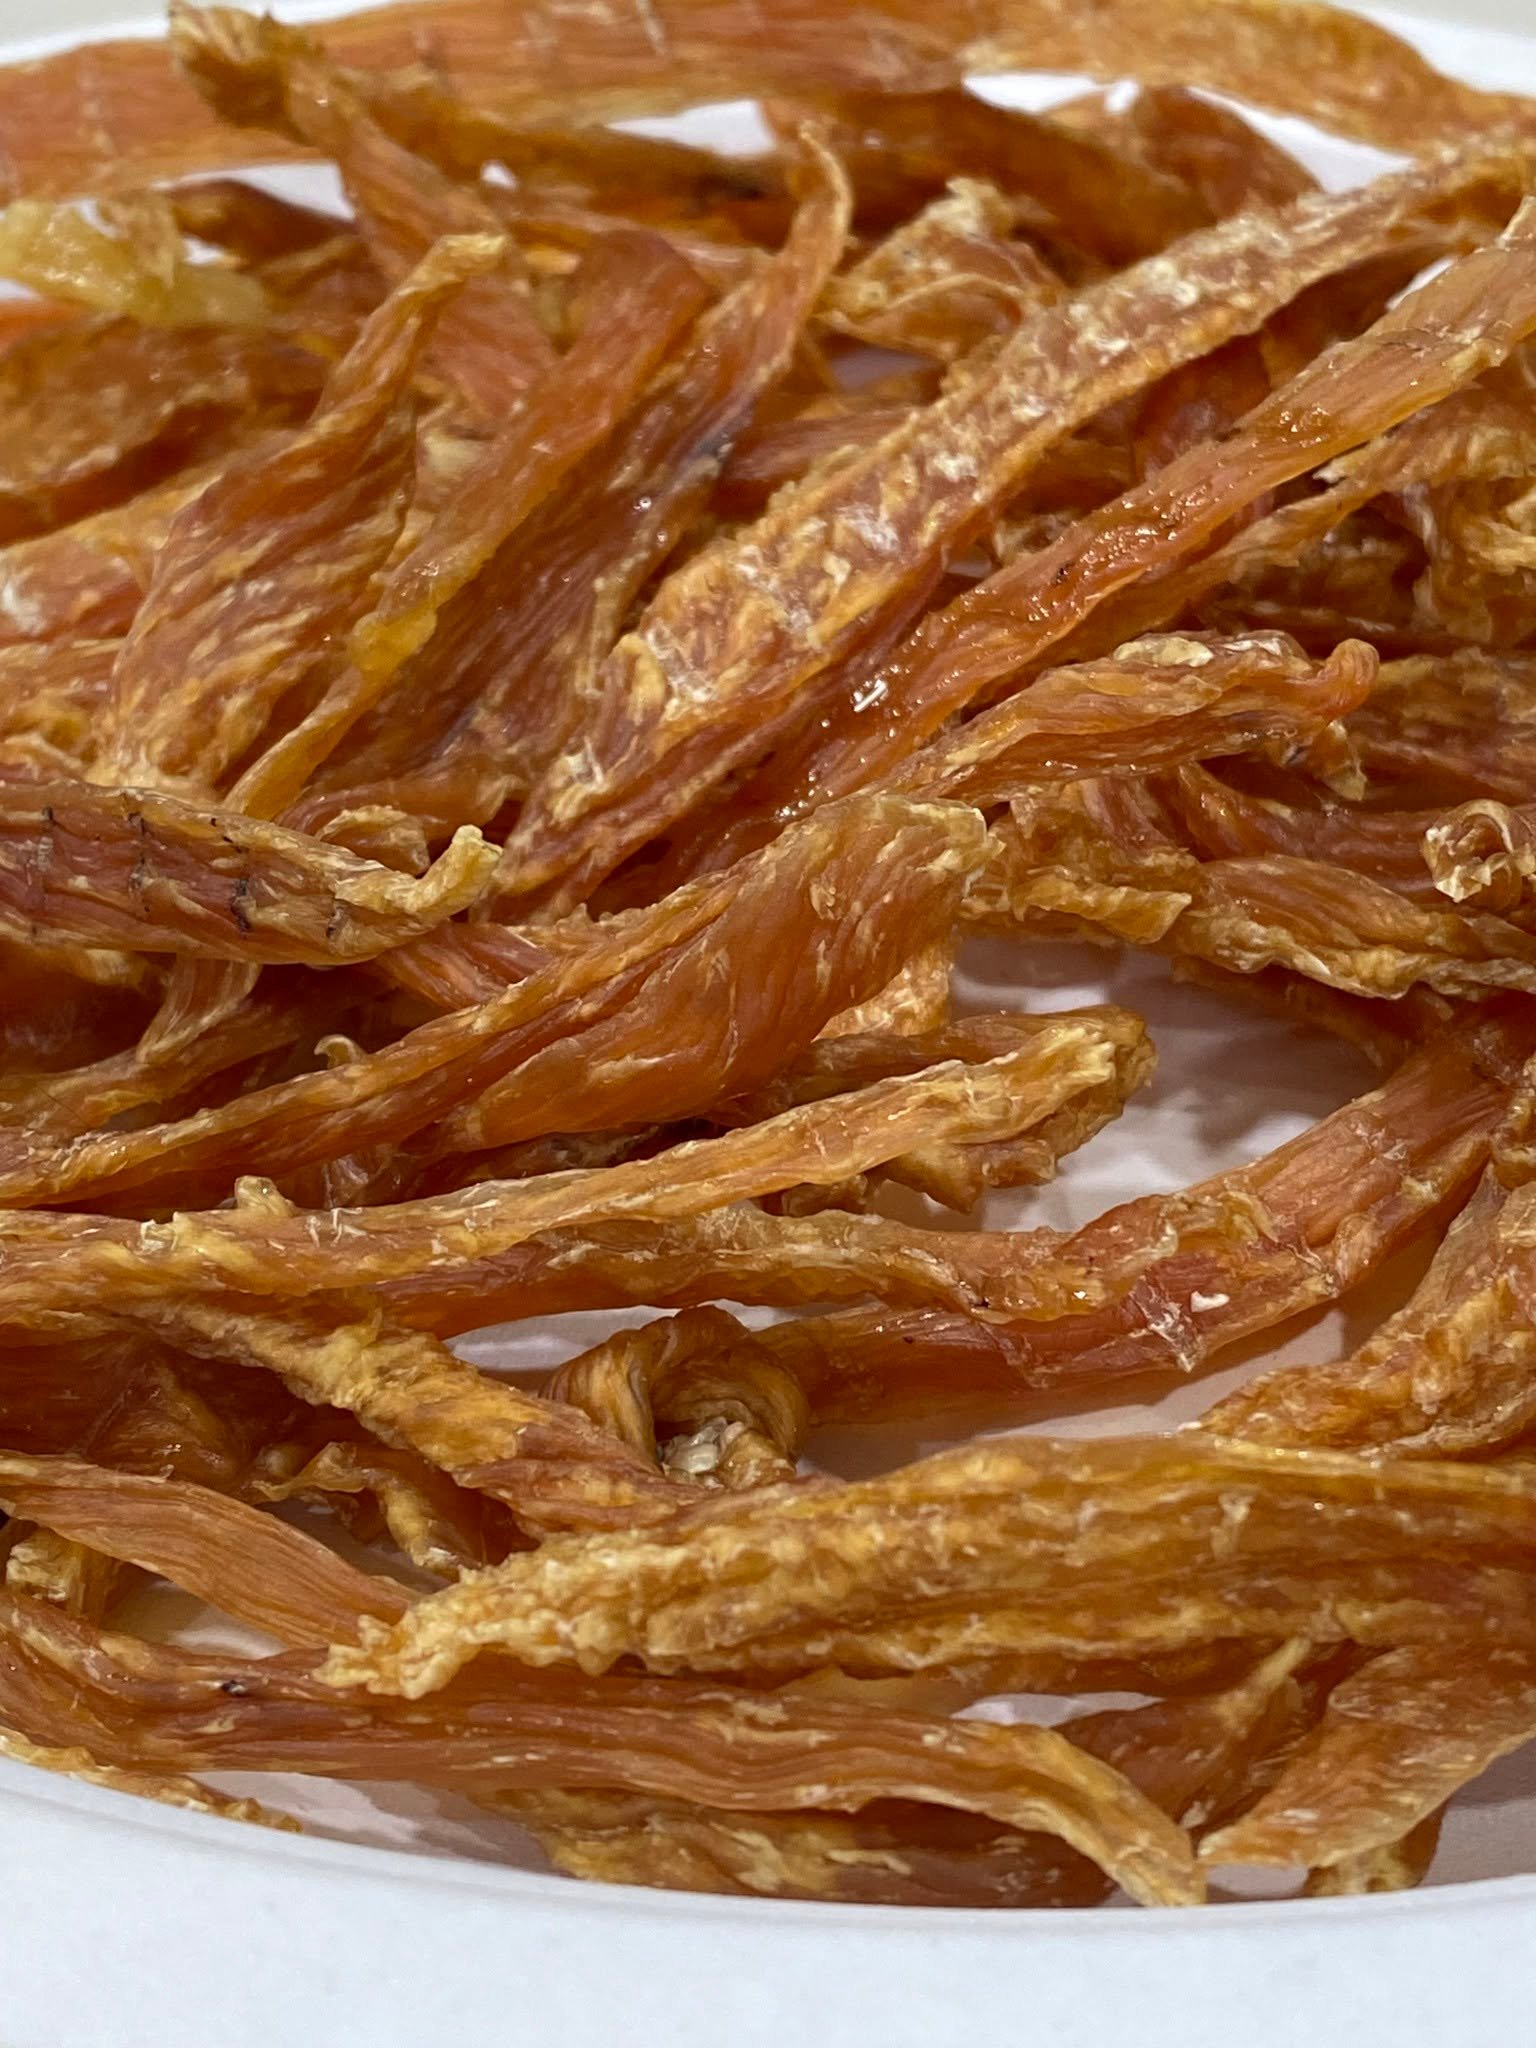
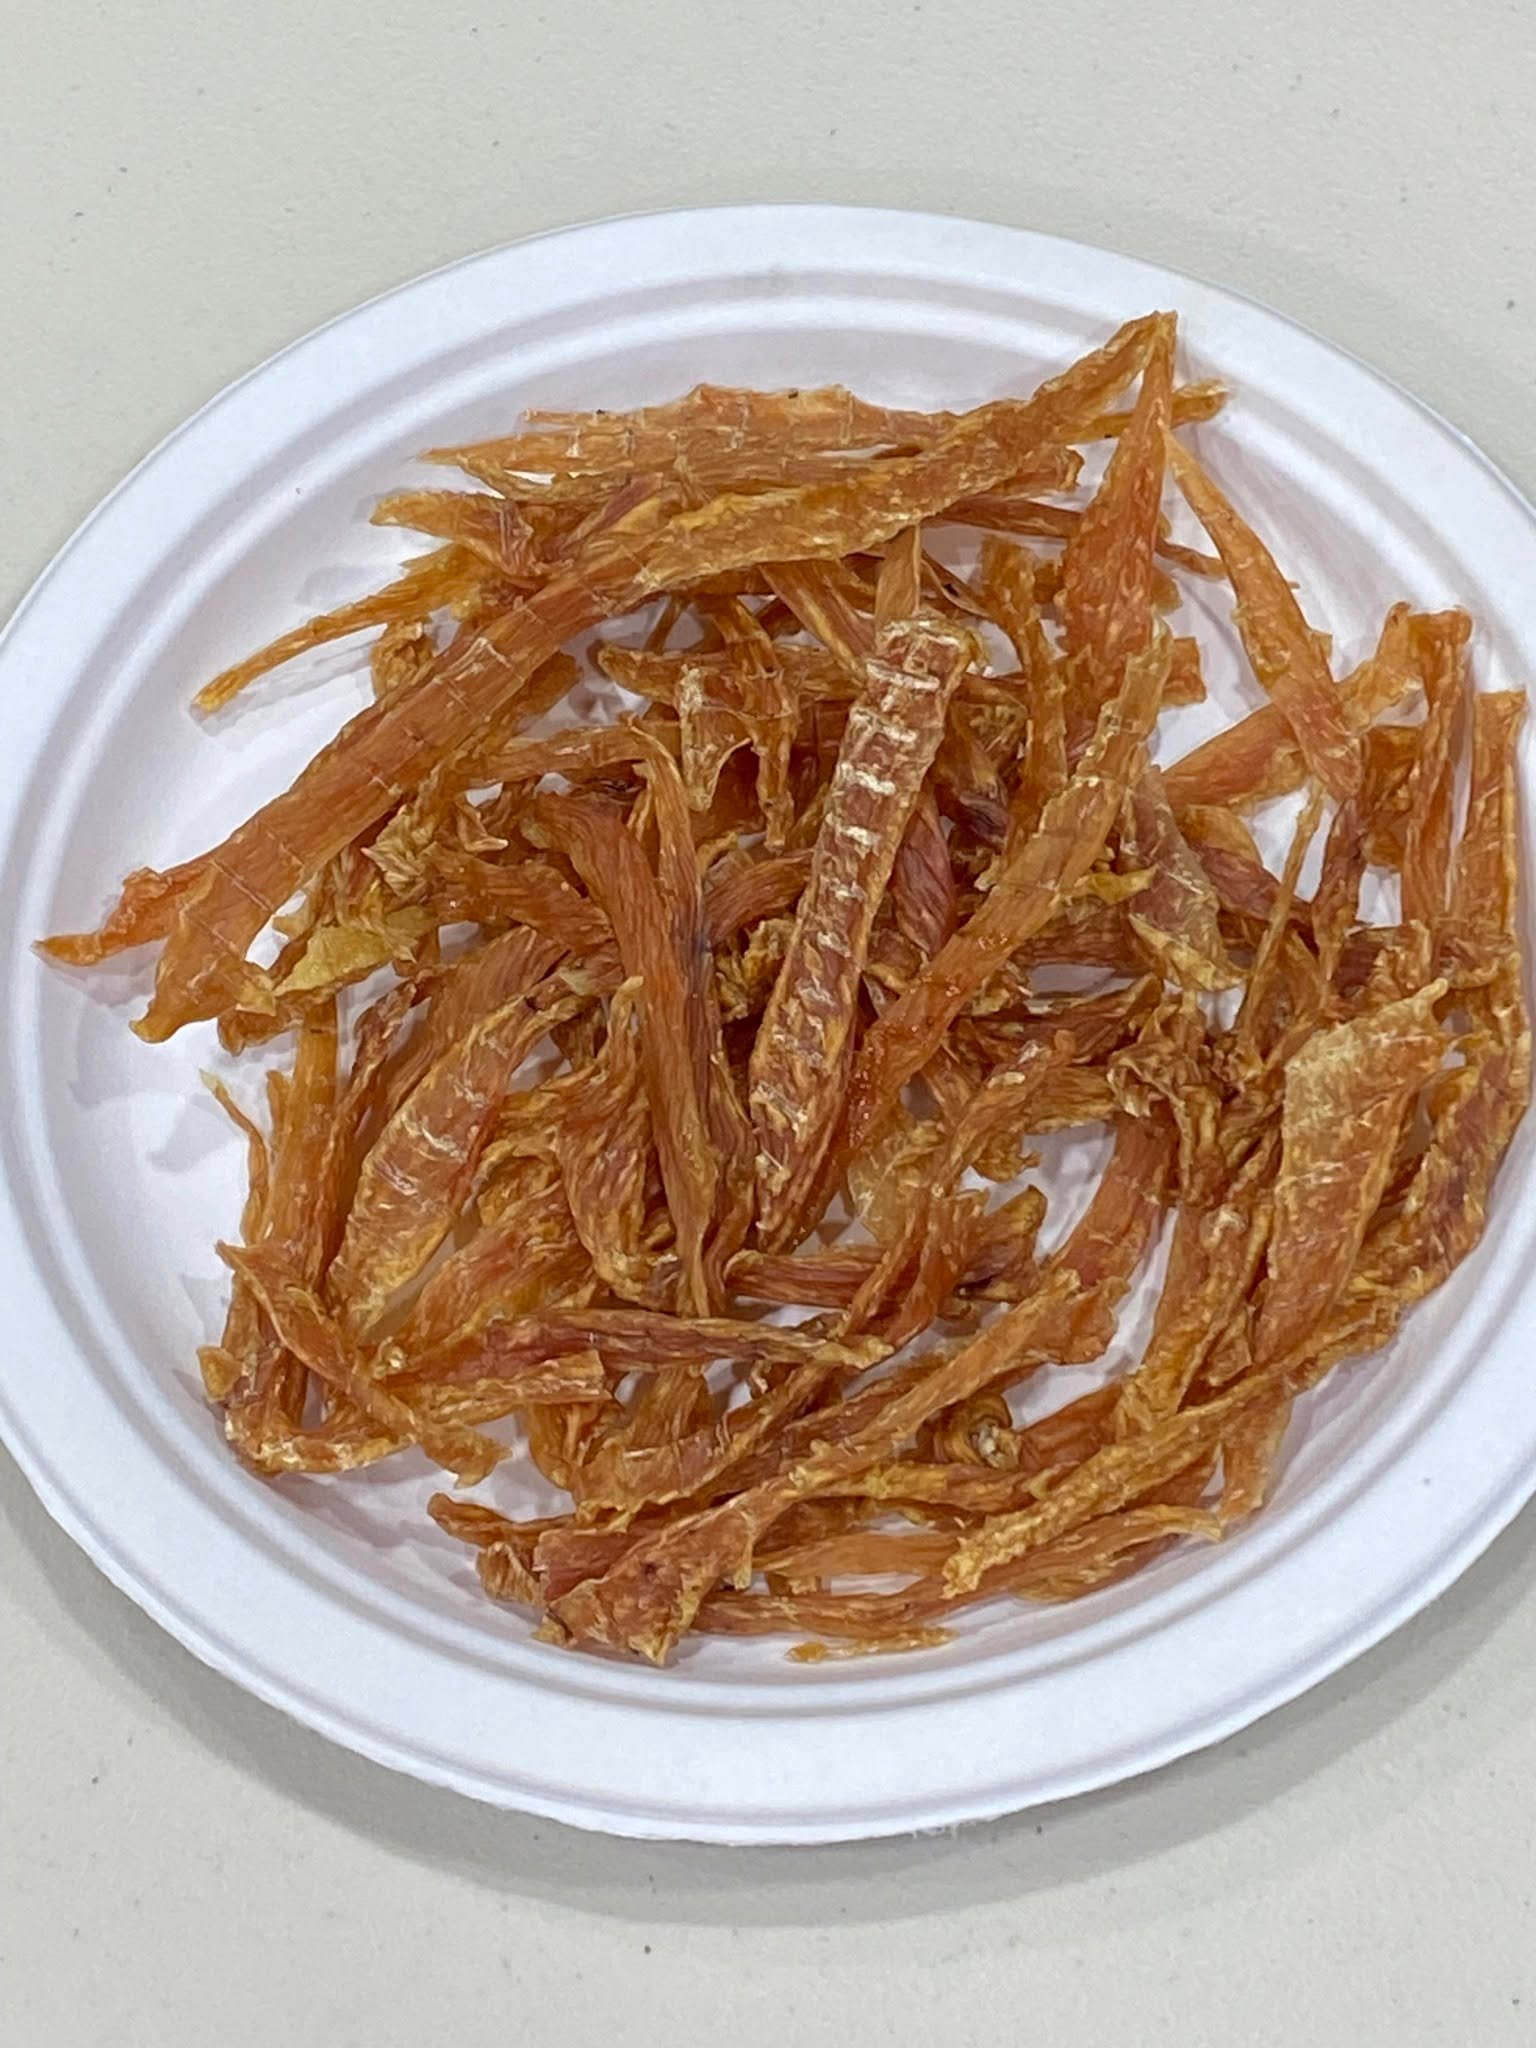
Let a sample cool, then inspect its center. It should be dry and firm throughout, with no soft or moist pocket. Continue drying unfinished pieces. Texture is useful for checking dryness, but does not replace the earlier cooking step or establish that the jerky is shelf-stable.
6. Cool and portion
Cool the finished strips on a clean rack, then pack promptly once cool so steam is not trapped inside. Break or cut into pieces appropriate for your dog’s size and chewing habits. Avoid offering long strips that might be swallowed whole.
Refrigerating and freezing
This batch has not been tested for residual moisture or shelf life. Use a conservative refrigerator window of three to four days at 40°F (4°C) or below, rather than assuming every batch will keep for a week. Freeze the rest in small, labelled portions once cooled.
Thaw portions in the refrigerator and avoid repeatedly thawing the whole batch. An airtight jar or bag does not make homemade jerky safe for cupboard storage. Discard treats showing mould or spoilage; normal appearance alone cannot confirm safety.
Serving chicken jerky as a treat
Offer a small piece first and supervise chewing. Choose a softer treat if your dog struggles with firm jerky. Keep these treats as an extra alongside a complete diet, not as a meal replacement. Drying removes water, so a small-looking strip can represent more chicken than its size suggests.
Record the finished batch weight if you want to calculate portions later. Without a measured yield, per-strip calorie estimates would be unreliable. Avoid chicken treats for a dog whose prescribed diet excludes chicken.
Leave a Reply