
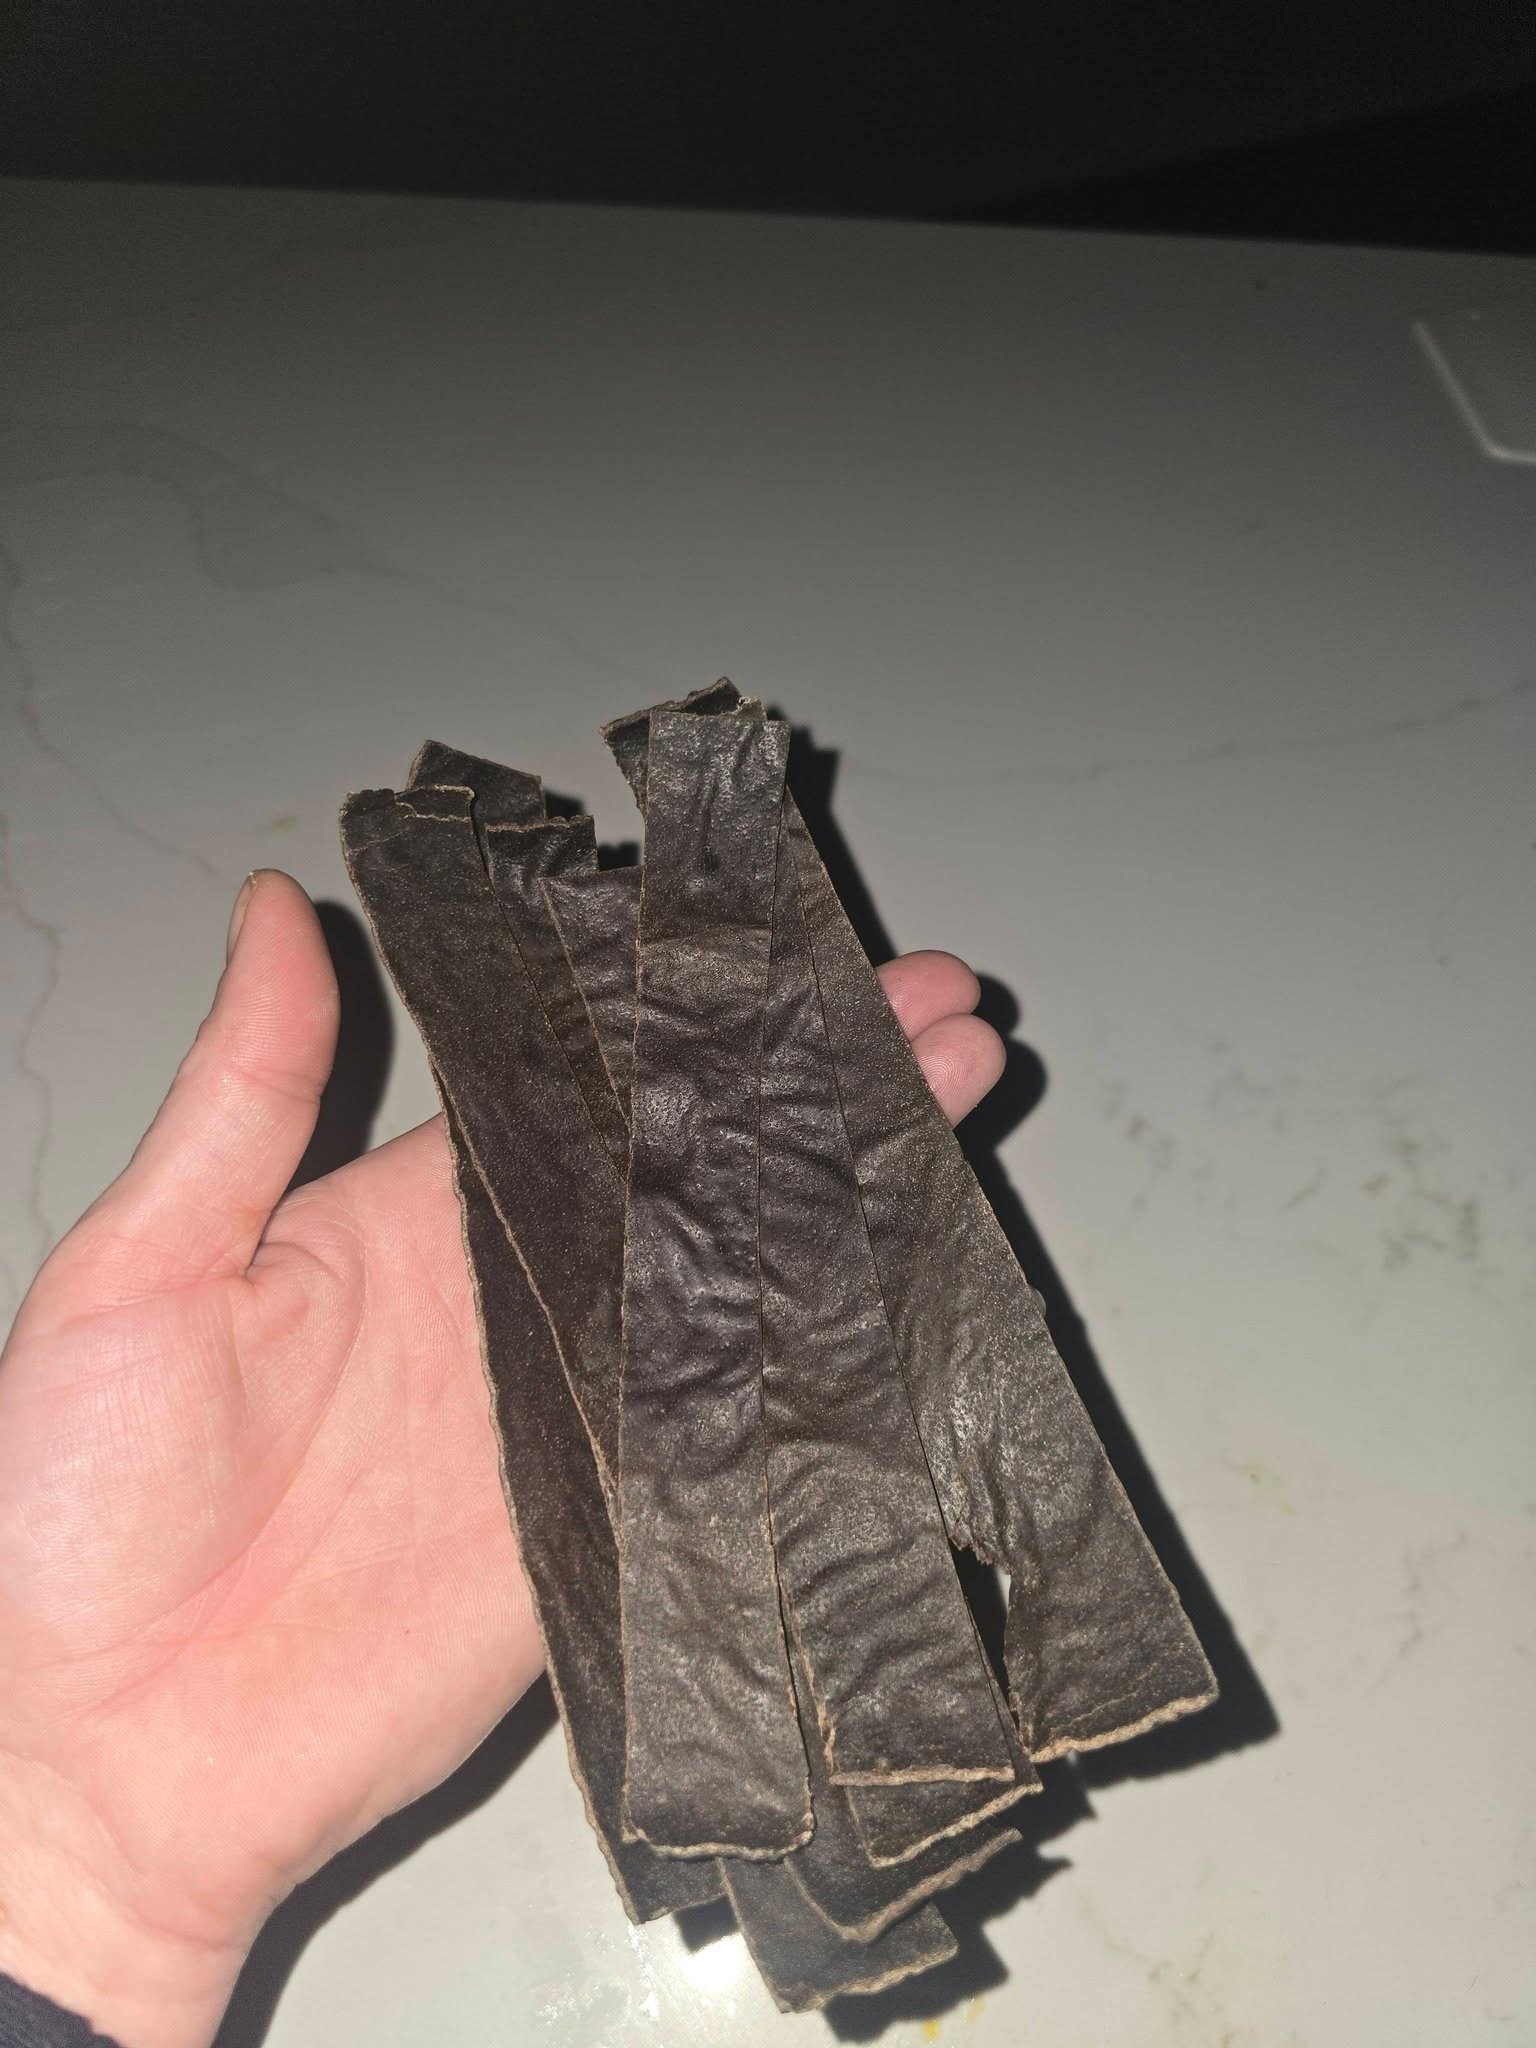
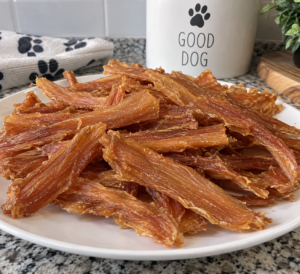
Homemade liver jerky dog treats combine beef liver, eggs and finely ground oats into a spreadable mixture that can be baked and cut into strips. A second, lower-temperature stage dries the strips to a firmer texture. Break the finished treats into small pieces for occasional rewards rather than serving the long strips whole.
This recipe uses a 2 lb batch of beef liver. Cooking and drying times are estimates: thickness, tray size and oven performance affect the result. Check the internal temperature during the initial cooking stage rather than using firmness alone as the test for doneness.
Ingredients
- 2 lb (approximately 900 g) beef liver
- 2 large eggs
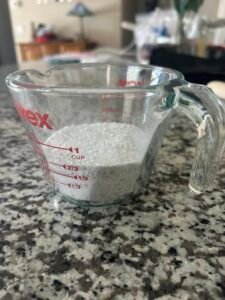
- 1 cup (90 g) rolled oats, blended into flour; use the weight for consistency
- 2–4 tablespoons water, only if needed
Use plain oats and leave out seasoning, salt, onion and garlic. Add water gradually; the mixture should spread easily while remaining thick enough to hold an even layer.
Equipment
Have a food processor or blender, two rimmed baking sheets, oven-safe baking parchment, a spatula, a knife and a thin-tip food thermometer ready. Wash equipment and work surfaces thoroughly after handling the raw liver and eggs.
How to make liver jerky dog treats
1. Prepare the oven and mixture
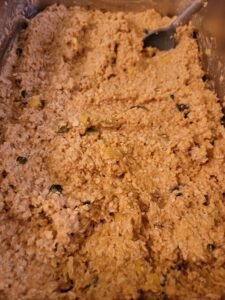
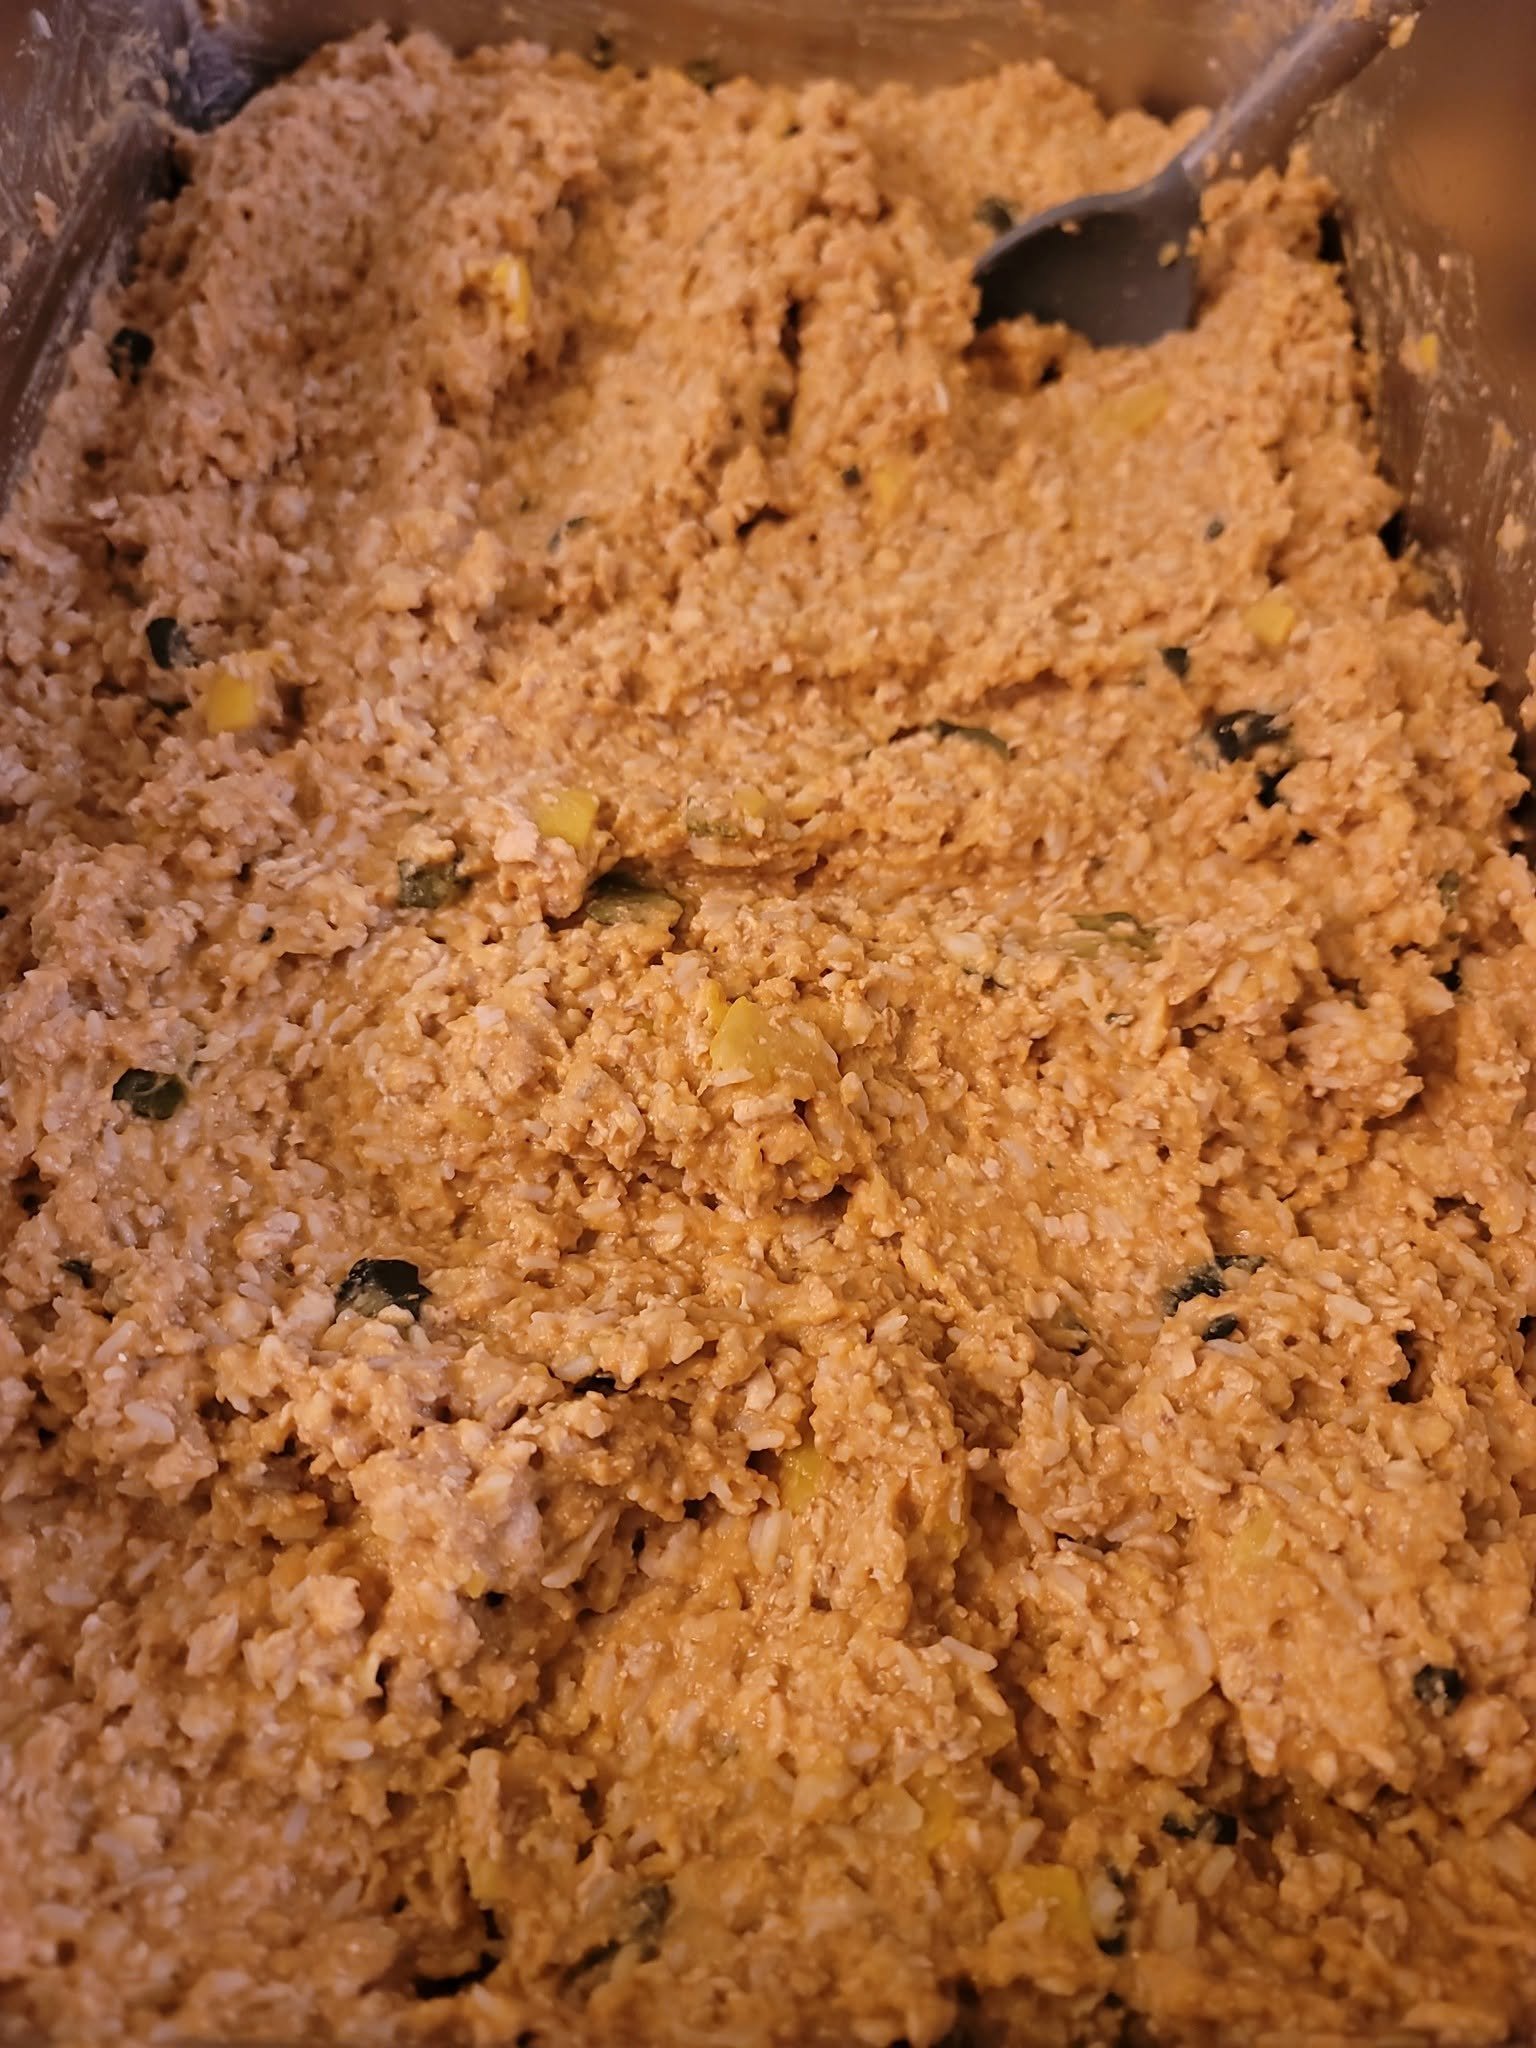
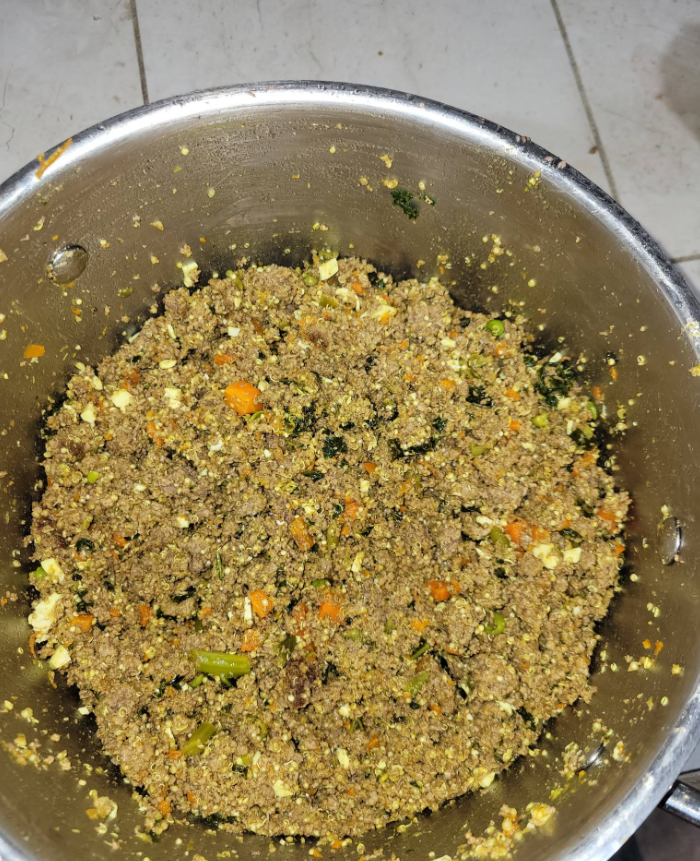
Preheat the oven to 300°F (150°C). Line the baking sheets with oven-safe parchment. Blend the oats into flour, then blend the liver and eggs until smooth. Stir in the oat flour and add water only as needed to make a thick, spreadable mixture.
2. Spread an even layer
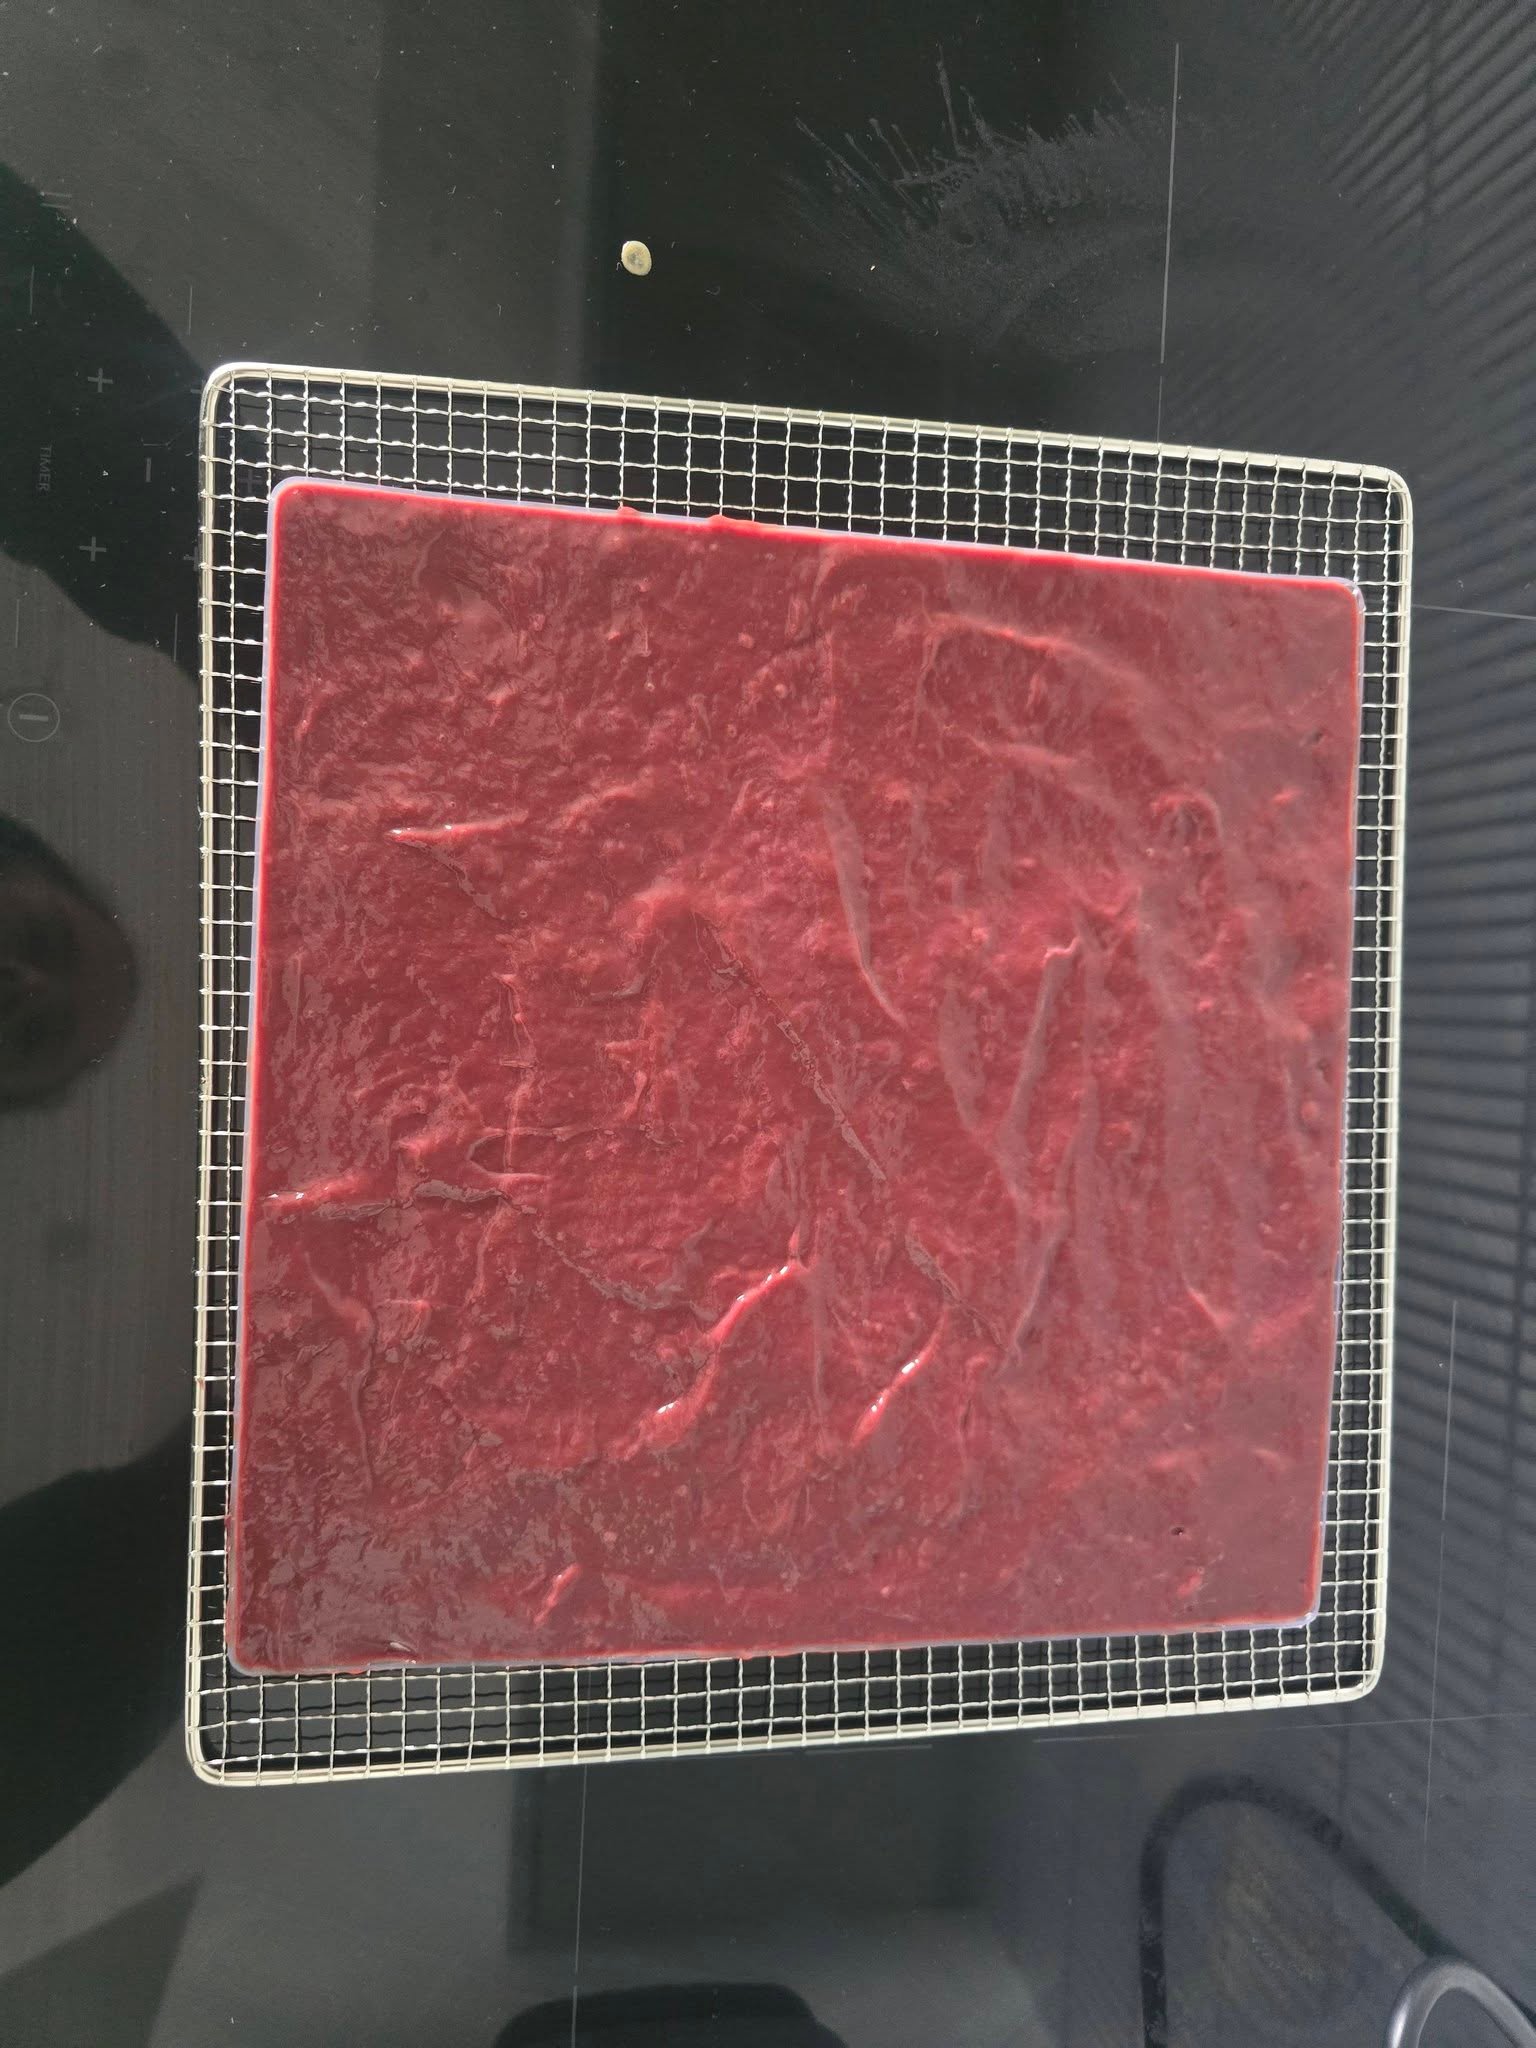
Divide the mixture between the sheets and spread it about ⅛–¼ inch (3–6 mm) thick. Keep the center and edges as even as possible. Use an additional tray if needed to avoid a thick layer.
3. Cook thoroughly before drying
Bake for approximately 30–40 minutes, checking that the mixture is firm enough to cut and has reached at least 160°F (71°C) internally before reducing the heat. Use a thin-tip thermometer inserted sideways into the layer, without touching the tray, and check several locations. Continue cooking if needed. Oven temperature and surface appearance do not establish the food’s internal temperature.
4. Cut and dry the strips
Carefully remove the sheets and cut the cooked mixture into strips. Reduce the oven to 200°F (95°C). Separate the strips slightly and return them to the oven for approximately 1½–2½ hours, turning halfway through. Check regularly toward the end, removing thinner pieces sooner if necessary.
The strips should become firm and leathery rather than remain wet in the center. That texture is a cooking goal, not proof of shelf stability. This home recipe has not been tested for its final moisture level or room-temperature storage life.
5. Cool and portion
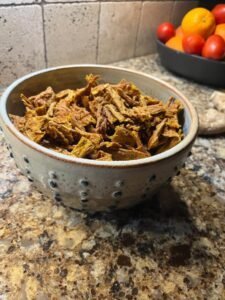
Cool the strips on a clean rack, then divide them into small treat pieces. Package and refrigerate promptly, within two hours after drying finishes. Do not leave the finished batch on the counter overnight.
Oven method and dehydrator photo
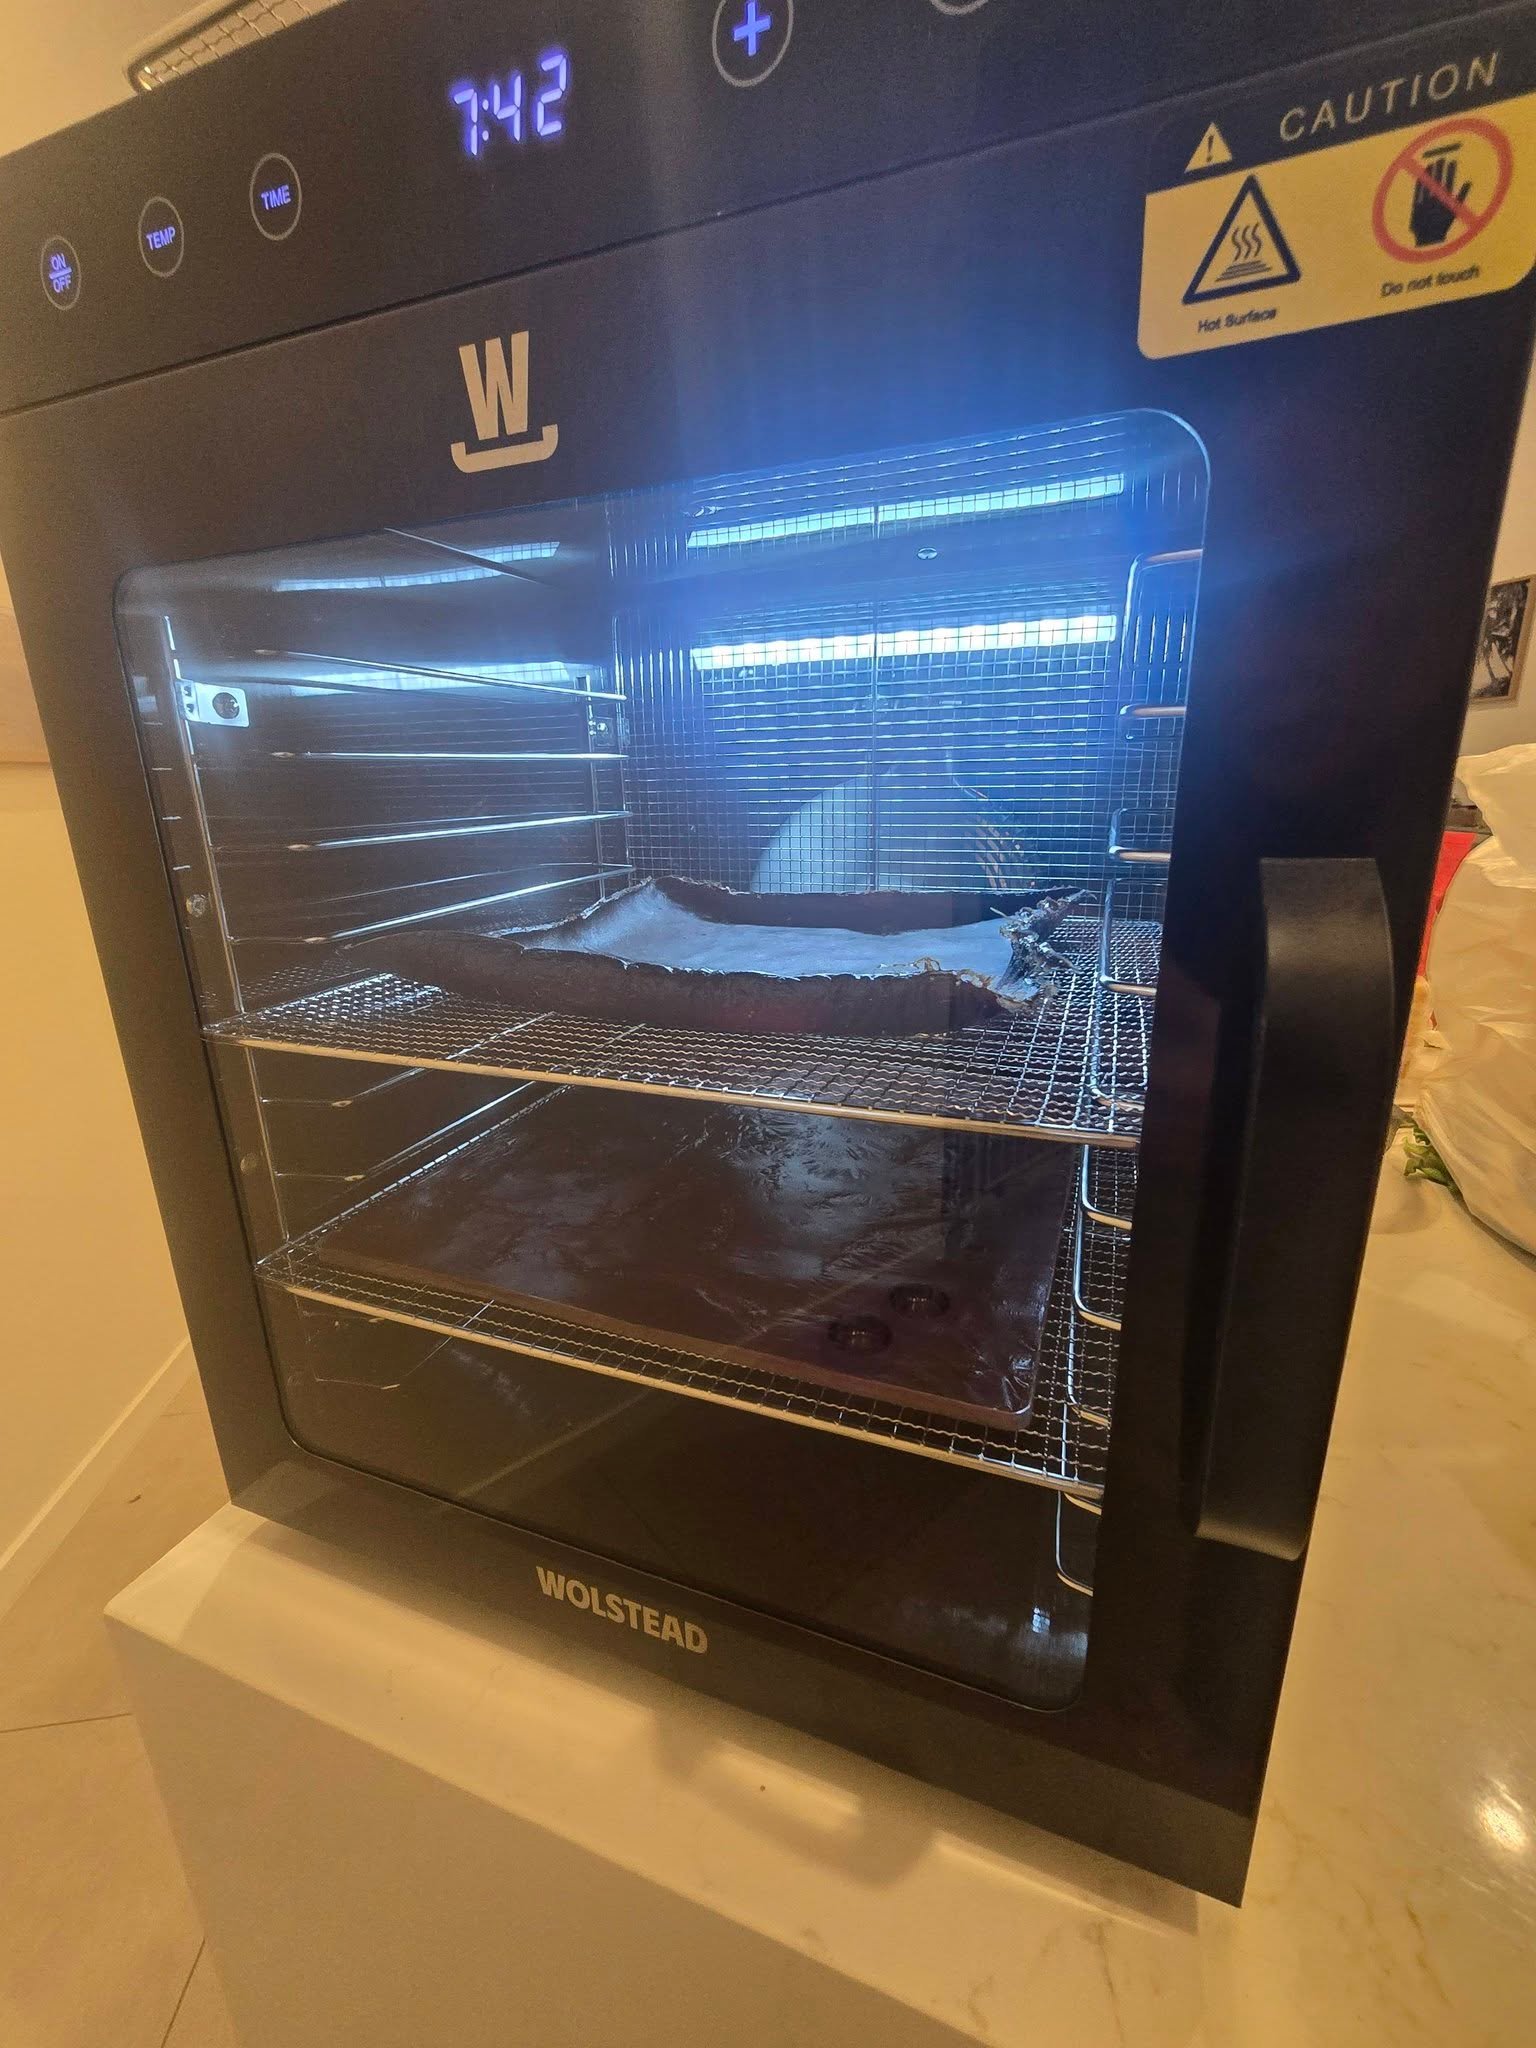
The appliance display in a photograph is not a verified cooking schedule. Do not transfer the oven times directly to a dehydrator or use low-temperature drying as a substitute for the initial cooking step. A dehydrator method needs appropriate instructions for the specific appliance and mixture.
Storage and freezing
Because the dryness of homemade strips varies, treat this batch as perishable cooked food. Store it in an airtight container in the refrigerator at 40°F (4°C) or below and use within three to four days. Freeze extra portions promptly rather than keeping a large batch refrigerated for a week.
Label freezer containers with the date and aim to use within three months for quality. Thaw in the refrigerator. Keep only a small quantity out for a training session and discard any pieces showing mold or spoilage.
How much liver jerky can a dog have?
Offer small pieces occasionally and supervise chewing. These treats are not a complete food or a meal replacement. All treats together should stay within 10% of daily calories; this is an overall ceiling, not a target allowance for liver treats. An exact number of pieces cannot be given without the finished yield and calorie content.
For a dog on a prescription diet or with food sensitivities, check whether these ingredients fit the feeding plan before offering them. Adjust the size to the dog, and avoid giving long strips to a dog that tends to swallow treats whole.

Leave a Reply